

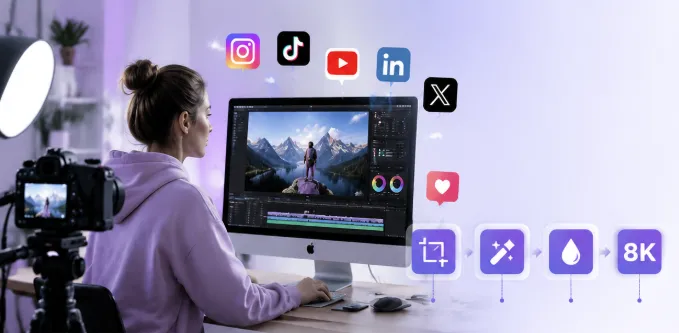
Why Visual Quality Decides Whether Your Content Gets Seen
On social media, you don’t get a second first impression. A user scrolling past your post decides in under a second whether to stop, and blurry, low-res, or cluttered visuals are the fastest way to lose that moment. For content marketers, the math is even stricter: paid and organic algorithms both reward watch time and engagement, and both start with content that looks intentional and polished.
The good news is that “professional” no longer means “shot on a $20,000 rig.” A growing stack of AI enhancement tools lets solo creators and small teams produce visuals that used to require a studio, a retoucher, and a colorist. This guide walks through a practical, repeatable workflow for turning raw footage and photos into social-ready, marketing-grade content.
Step 1: Lock In the Right Specs Before You Shoot
Quality starts before editing. Know the destinations:
-
Instagram feed: 1080×1350 (portrait) or 1080×1080 (square)
-
TikTok / Reels / Shorts: 1080×1920 (vertical), 30fps minimum
-
YouTube: 1920×1080 or 3840×2160 (4K) for evergreen content
-
LinkedIn: 1200×1200 or 1200×627 for link posts
Resolution is only half of it. Bitrate, frame rate, and color consistency matter as much as dimensions. Setting these up front saves you from upscaling or re-cropping later – though as you’ll see, modern tools make fixing that far less painful than it used to be.
Step 2: Sharpen and Stabilize Your Video
Most rejected footage isn’t “bad” – it’s just soft, shaky, or noisy. Phone cameras, screen recordings, and older clips all suffer from it. Before publishing:
-
Stabilize handheld or walking shots so they don’t induce motion sickness.
-
Denoise low-light footage to kill the grainy look.
-
Sharpen selectively so detail pops without looking artificially crunchy.
-
Upscale resolution when a clip was captured below your target – 1080p source can be rescued toward 4K for larger screens.
The point isn’t to fake quality that was never there; it’s to recover the quality your camera actually captured but compressed away. Clean, stable video keeps viewers watching, and watch time is what platforms reward.
Step 3: Strip Out What Hurts the Viewing Experience
This is the step most creators skip – and it’s where amateur content gives itself away. Reused or acquired footage often carries baggage: a watermark from a stock site, a logo you no longer license, a timestamp burned into a screen recording, or a random UI element caught in a capture. Left in place, these scream “unfinished.”
AI object and logo removal now handles this in minutes instead of hours of manual masking. For reused or rights-cleared clips, the ability to remove watermark from video cleanly is the difference between a clip that looks native to your brand and one that looks borrowed.
Responsible use note: only remove watermarks or logos from assets you own or are licensed to modify. These tools are for your own content, licensed stock, and rights-cleared footage – not for stripping credits off material you don’t have permission to alter.
The same cleanup applies to stills: an old logo in a photo, a reflection, or a stray background object can be erased and rebuilt without visible seams, making your entire library reusable.
Step 4: Make Your Images Look Studio-Grade
Photos carry your brand even harder than video because they’re often the thumbnail, the ad creative, or the pinned post. Three moves lift almost any image:
-
Balance tone and color so the batch looks coherent, not five different shoots.
-
Recover detail in shadows and highlights instead of crushing them.
-
Upscale for the display it’s destined for.
This last one is the quiet power move. Instead of reshooting at higher resolution, you can take an existing asset and push it to large, crisp output. An 8k photo upscaler AI turns a small product shot or a screenshot into a hero image that stays sharp on 4K displays, in print, and on high-DPI web – without the blurry stretching older methods produced. For marketers running the same asset across stories, feeds, and landing pages, that future-proofs the file once instead of resizing it five times.
Step 5: Build a Repeatable Prep Workflow
Quality at scale comes from a pipeline, not heroics. Here’s a workflow that works for solo creators and teams alike:
-
Capture or gather your base assets.
-
Upscale stills – for hero images, push to 8K so they’re ready for any channel.
-
Stabilize and sharpen video, then denoise low-light clips.
-
Clean unwanted elements – strip watermarks, logos, timestamps, and distractions from both images and video.
-
Normalize color and tone across the batch for a consistent brand look.
-
Export per platform from one enhanced master.
Each step compounds. An upscaled, cleaned, color-matched asset is far more useful than the sum of its parts – and you stop re-editing the same file every time a new channel appears.
Step 6: Platform Quick-Reference Checklist
| Platform | Recommended size | Priority fix |
| 1080×1350 | Tight crop, color pop | |
| TikTok / Reels | 1080×1920 | Stabilize, sharpness |
| YouTube | 1920×1080 / 4K | Resolution, audio |
| 1200×1200 | Clean, professional tone | |
| X / Twitter | 1200×675 | Compression-resistant export |
Run every asset against this before publishing. If something fails the “would I stop for this?” test, send it back through Step 2–4.

The Takeaway
Professional visual content in 2026 isn’t about expensive gear – it’s about a disciplined prep routine. Sharpen your video, strip the clutter, and upscale your images so they hold up on every screen your audience uses. The creators and marketers winning their feeds are the ones who treat enhancement as part of production, not an afterthought. Tools like an 8k photo upscaler AI for stills and a way to remove watermark from video for footage are the difference between “good enough” and “looks like a brand.”
FAQ
What resolution should social media videos be?
Aim for at least 1080p (1920×1080) for horizontal and 1080×1920 for vertical. If source footage is lower, AI upscaling can recover usable sharpness, but it can’t invent detail that was never captured – shoot as high as your device allows.
Is it legal to remove a watermark from a video?
Only when you own the content or are licensed to modify it. Use removal tools on your own footage, licensed stock, and rights-cleared assets – never to strip credits from material you don’t have permission to alter.
Do I need different images for every platform?
Not different source files – different exports. Enhance one master (ideally upscaled to 8K for stills), then crop and export per platform spec. That keeps quality high everywhere without reshooting.
How do I keep my feed looking consistent?
Normalize color and tone across batches in your prep step. AI tone-matching turns mixed-source assets into a coherent visual brand without manual grading on every file.

Ashley Rosa is a freelance writer and blogger. As writing is her passion that why she loves to write articles related to the latest trends in technology and sometimes on health-tech as well. She is crazy about chocolates. You can find her at twitter: @ashrosa2.