

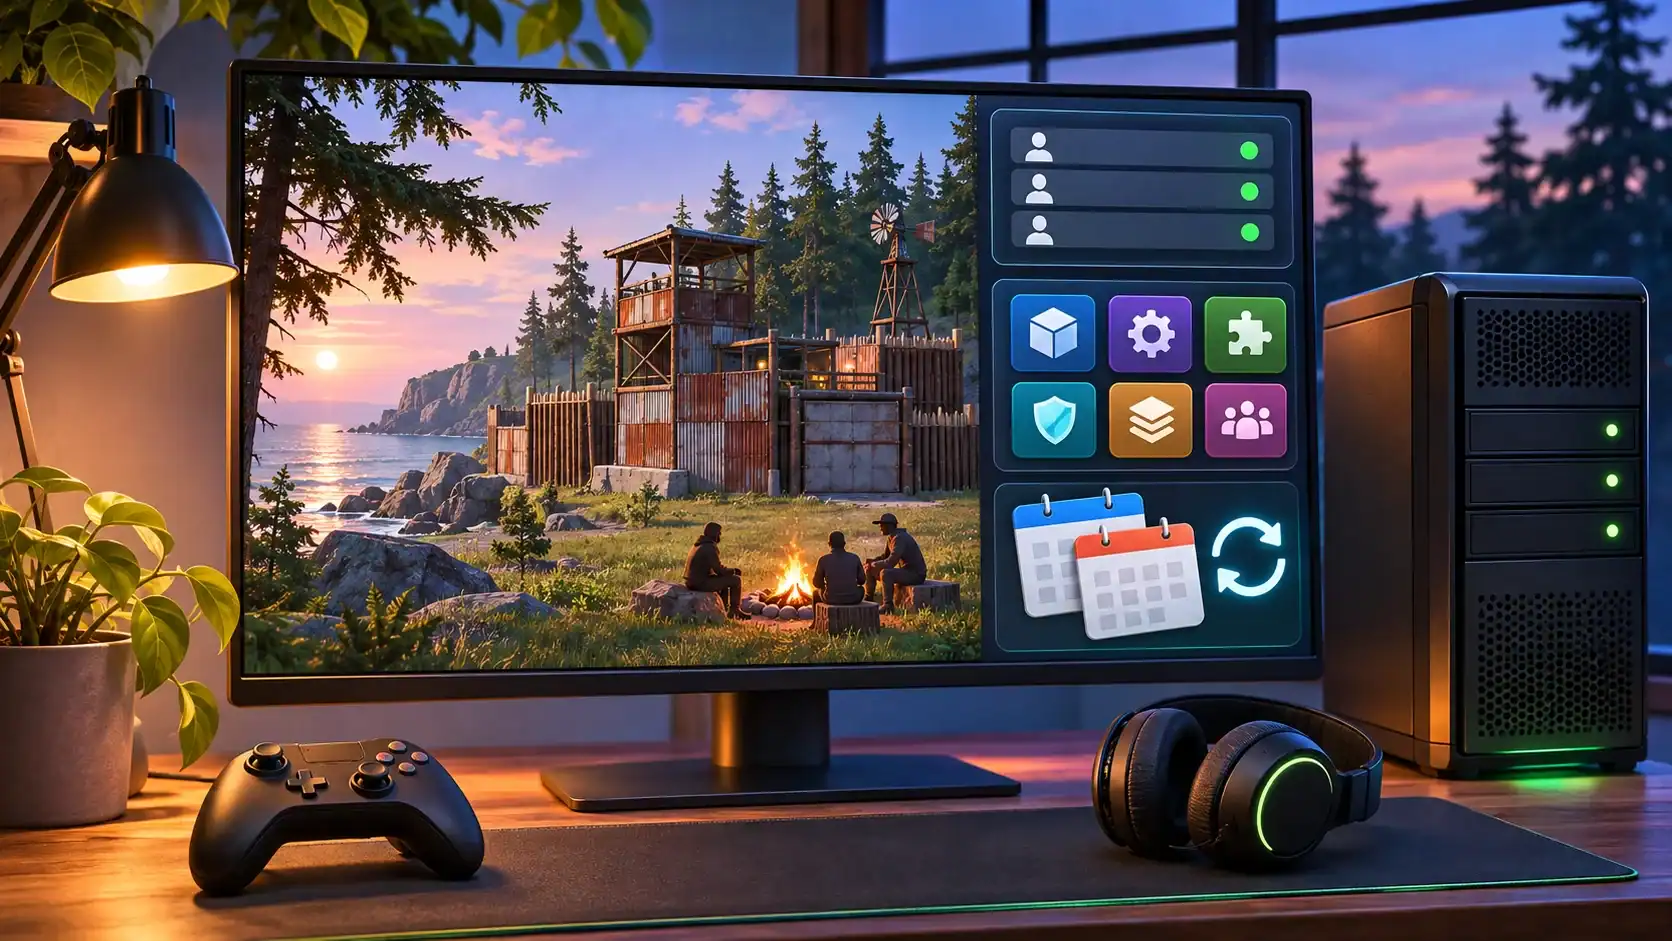
Starting your own Rust server is a great way to create a gaming environment that matches your preferences. You can decide how difficult survival should be, which plugins players can use, how often the map resets, and what kind of community you want to build. Whether you prefer intense PvP battles, relaxed PvE gameplay, or a balanced experience, running a private server gives you control over these details.
However, launching a server involves more than choosing a name and opening it to players. You need reliable hosting, server configuration, useful plugins, and a clear wipe schedule. Good administration also matters because players are more likely to return when the rules are clear and the gameplay remains stable.
This guide explains how to create a Rust server, choose the right settings, manage plugins, and build an active community.
How to Make a Rust Server: Self-Hosting vs Renting
The first decision is where to run your server. You can host it on your own computer or rent a dedicated machine from a hosting provider. Both options have advantages, but the right choice depends on your budget, technical experience, and server plans.
Self-hosting means installing and running the server software on your personal computer or another machine you own. It gives you direct control over the hardware and configuration without paying a monthly hosting subscription. However, your computer needs enough processing power, memory, and network capacity to handle the game.
This option can work well for testing configurations or playing with a small group of friends. However, it has several limitations:
- Hardware requirements: Rust servers need sufficient RAM and CPU resources, especially when the map is large or many players are online. Your computer must also handle its normal tasks if you use it for gaming or work.
- Internet connection: A stable connection and appropriate upload speed are essential. Network interruptions can disconnect players and affect the overall experience.
- Availability: Your server will usually become unavailable when your computer shuts down, restarts, or loses its internet connection.
Renting Rust server hosting is generally more convenient for long-term projects. A hosting provider supplies the hardware, network infrastructure, and server management tools. Many services also include control panels that allow you to restart the server, change settings, install updates, and manage backups without manually editing every configuration file.
A rented Rust dedicated server is a better option if you want consistent availability and plan to attract players outside your immediate group. Before choosing a provider, compare CPU performance, RAM, storage, server locations, DDoS protection, backup options, and available support.
Also consider your expected player count. A small community does not need the same resources as a server expecting dozens or hundreds of active players. Starting with an appropriate plan and upgrading when necessary is usually more practical than paying for excessive resources from the beginning.
Setting Up a Rust Dedicated Server: First Steps
Once you have chosen your hosting method, it is time to configure the server. The basic process involves installing the necessary software, downloading the game server files, setting up network access, and adjusting the main configuration parameters.
For a self-hosted setup, SteamCMD is commonly used to download and update dedicated server files. With rented hosting, the provider may offer an installation option directly through its control panel.
For a more detailed technical reference, check the Rust dedicated server documentation before making configuration changes.
After installation, configure the server identity and gameplay settings. Important parameters include:
- Server name and description: Choose a recognizable name that communicates the server’s style. Mention whether it is vanilla, modded, PvE, or PvP.
- Map size and seed: These settings determine the world players explore. Larger maps provide more space but require additional resources.
- Maximum players: Set a limit that matches your available hardware and the type of gameplay you want to support.
- Server ports: Configure the required ports and firewall rules according to the official documentation and your hosting provider’s instructions.
- Admin permissions: Set up an owner account so you can manage players, change settings, and respond to problems.
When learning how to set up a Rust server, avoid changing too many settings at once. Start with a basic configuration, launch the server, and test whether players can connect successfully. Check the console for errors and monitor CPU and memory usage during gameplay.
It is also worth testing the server from another computer or network. A server that works locally may still have firewall, port-forwarding, or connectivity issues that prevent external players from joining.
Once the basic setup is stable, you can move on to customization.
Best Rust Server Plugins to Install With uMod/Oxide
Plugins allow administrators to change how Rust works without developing custom server software. The uMod framework, commonly used with Oxide, lets you install and manage modifications that add commands, automate administration, and introduce new gameplay features.
The best Rust server plugins depend on your server concept. A competitive PvP environment needs different tools from a relaxed PvE server. Installing too many modifications can also create compatibility problems, so begin with a small selection.
Some useful plugin categories include:
- Administration tools: Plugins such as Admin Radar help moderators investigate suspicious activity and monitor the server. Permissions Manager can also make it easier to organize player and staff permissions.
- Teleportation and convenience: Kits, Homes, and Teleportation plugins can make gameplay more accessible. They are especially useful on community servers where players may not want to spend every session traveling across the map.
- Economy and rewards: Economics and Server Rewards introduce virtual currencies and reward systems. They can give players additional goals and encourage regular participation.
- PvE protection: Plugins such as TruePVE allow administrators to customize combat rules, making it possible to protect players from unwanted PvP interactions.
- Gameplay information: Gather Manager lets you adjust resource collection rates, while other information plugins can display useful server details and commands.
Before installing any modification, check whether it supports your current Rust and uMod versions. Read the documentation, review its configuration options, and make sure it comes from a trustworthy source.
Most plugins are installed by placing their files in the appropriate server plugin directory. After installation, the framework loads them automatically or allows administrators to load them through server commands. Configuration files are usually generated separately so that you can adjust individual features.
Don’t install ten plugins on the first day just because they look interesting. Add one or two, test their behavior, and check server performance. This makes troubleshooting much easier if something stops working.
Rust Server Wipe Schedules: How Often and Why
A wipe resets some or all server progress. Depending on the wipe type you choose, it can remove player buildings, inventories, map exploration, or the entire world. Wipes are a normal part of Rust because the game is built around resource collection, base development, competition, and progression.
The right Rust server wipe schedule depends on your community and gameplay format. Some players enjoy starting from nothing every week, while others prefer longer seasons that give them time to build large bases and develop their strategies.
Common approaches include:
- Weekly wipes: These create a fast-paced environment where players can compete for resources and territory frequently. They are popular with players who enjoy short progression cycles.
- Biweekly wipes: A two-week schedule gives more time to develop bases while keeping gameplay relatively fresh.
- Monthly wipes: Monthly resets suit communities that prefer longer progression and more relaxed gameplay.
- Force wipes: These are associated with official Rust updates that require map resets. Server owners should monitor update announcements and prepare their servers accordingly.
There are also different types of wipes. A map wipe generates a fresh world and removes existing structures. A blueprint wipe resets learned crafting recipes, forcing players to unlock them again. Some servers perform both, while others reset only the map.
Consistency is more important than choosing the most frequent schedule. Publish your wipe dates in advance, explain what will be reset, and communicate unexpected changes through Discord or your website.
You should also create backups before major resets. Even if you plan to remove old progress, backups let you recover important configurations if something goes wrong.
How to Grow and Manage Your Rust Server Community
A technically stable server is only part of the project. To attract players and keep them interested, you need a clear identity and an active community. People should understand what makes your server different from the thousands of other available options.
- Start by defining your audience. For example, you might create a vanilla server for experienced PvP players, a beginner-friendly environment with increased gathering rates, or a PvE community focused on cooperative survival.
- Your server description should explain the main features without overwhelming potential players. Include the wipe schedule, gameplay rules, important plugins, and any special events.
- Discord is particularly useful for community management. Create separate channels for announcements, general discussions, technical support, and player feedback. This gives members a place to communicate even when they are not playing.
- Regular events can also help maintain interest. Consider organizing building competitions, team challenges, treasure hunts, or special PvP tournaments. These activities give players reasons to return between major wipes.
- Moderation is equally important. Establish clear rules covering cheating, harassment, exploits, and inappropriate behavior. Make sure moderators apply these rules consistently, rather than giving certain players special treatment.
- Finally, monitor server activity and listen to feedback. Watch peak player counts, connection issues, plugin performance, and the features people actually use. If players repeatedly complain about excessive resource gathering or unfair PvP settings, consider making adjustments.

Hi! I’m Bryan, and I’m a passionate & expert writer with more than five years of experience. I have written about various topics such as product descriptions, travel, cryptocurrencies, and online gaming in my writing journey.