
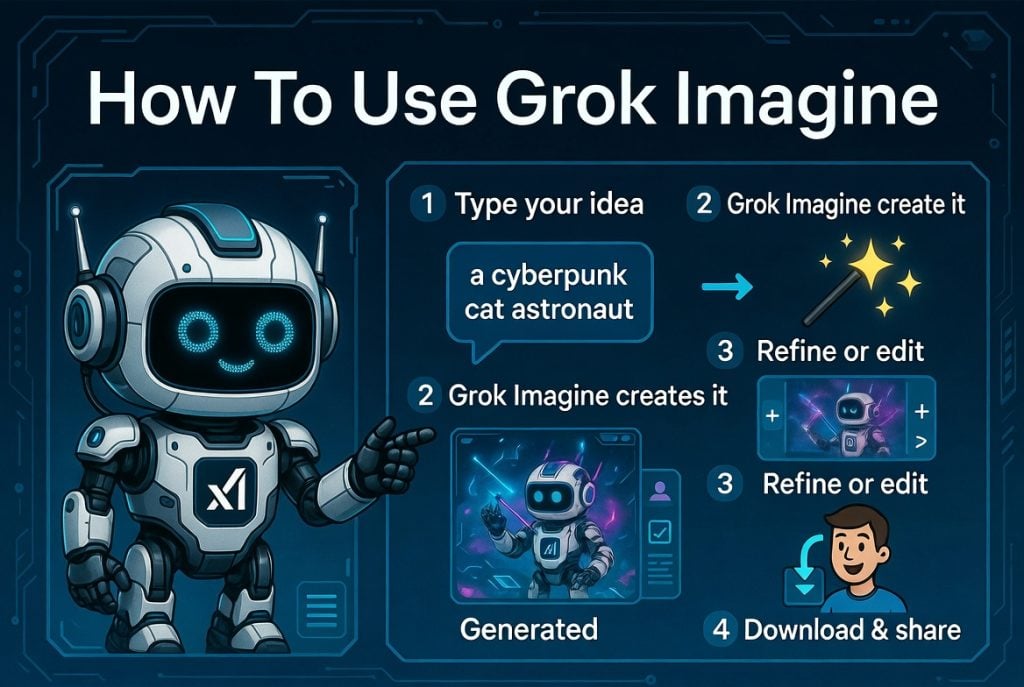
AI content creation has moved from a novelty to a daily workflow for marketers, designers, filmmakers, and social media creators. Among the new wave of tools, Grok Imagine has quickly become one of the most talked-about platforms because it combines text-to-image, text-to-video, and image-to-video generation in a single interface, all powered by xAI’s Aurora engine. If you’ve heard about it but aren’t quite sure where to start, this guide walks you through exactly how to use Grok Imagine AI to turn your ideas into polished visual content.
What Is Grok Imagine?
Grok Imagine is xAI’s multi-modal generative AI platform built to produce photorealistic images, cinematic videos, and synchronized audio from simple prompts. Unlike traditional AI image tools that only handle still pictures, Grok Imagine AI is designed to accept multiple input types at once: you can feed it text descriptions, reference images, short clips, and even audio files, then ask it to blend those inputs into a single output.
What makes it stand out is the combination of speed, quality, and flexibility. You can generate a 4-to-15-second cinematic video with built-in sound effects, animate a still photograph into a dynamic clip, or simply produce a high-resolution image for a blog header. The platform supports multiple aspect ratios — 16:9, 9:16, 4:3, 3:4, 21:9, and 1:1 — which means whatever you create works for YouTube, TikTok, Instagram Reels, or a website hero section without extra cropping.
If you want to try it for yourself, you can access the tool directly through Grok Imagine, which offers a free tier with daily credits so you can experiment before committing to a paid plan.
Why Creators Are Switching to Grok Imagine AI
Before diving into the how-to, it’s worth understanding why this tool has attracted millions of active users. A few reasons stand out:
- Multi-modal input. You can upload up to 9 images, 3 videos, and 3 audio files in a single project, combining up to 12 files across formats.
- Reference Anything. Point the model at a reference clip and tell it, in plain English, to copy the camera move, the lighting, the choreography, or the character style.
- Built-in audio generation. Most AI video tools force you to add sound in post. Grok Imagine AI generates context-aware sound effects and background music synced to your footage automatically.
- Watermark-free exports. Downloaded videos are clean and production-ready, which matters for commercial use.
- Consistency across shots. Faces, clothing, and even small text remain consistent across a multi-shot sequence, which has historically been one of the hardest problems in AI video.
How to Use Grok Imagine: Step-by-Step
Step 1: Describe Your Vision
Open the generator and type a prompt that describes the scene you want. The more specific you are, the better the result. Instead of writing “a cool city at night,” try something like “Cyberpunk Tokyo street, rain-soaked neon, 35mm lens, slow dolly forward, blue and magenta lighting.” If you have a reference image or video, drop it in alongside the text — Grok Imagine AI will use both to shape the output.
Step 2: Pick a Model
The platform offers several specialized models, each tuned for a different job:
- Grok Imagine for text-to-image and image-to-image generation.
- Grok Video for cinematic text-to-video and image-to-video output.
- Grok Upscale for boosting resolution up to 2K or 4K.
- Grok Extend for stretching or merging existing clips while preserving visual continuity.
You can switch between models at any time without starting over, which makes iteration much faster.
Step 3: Generate and Refine
Hit generate, preview the result, and refine. Most prompts produce usable output within seconds. If something isn’t quite right — maybe the lighting is off, or the camera move is too aggressive — adjust your prompt and regenerate. Each cycle costs a small number of credits, but the free tier gives you enough headroom to experiment.
Step 4: Download and Use
Once you’re happy with the output, download the file. Videos export in your chosen aspect ratio, ready to drop straight into a content calendar, an ad campaign, or a client deliverable.
Tips for Getting the Best Results
Iterate in small steps. Change one variable per regeneration. If you adjust the prompt, the model, and the reference image all at once, you won’t know which change moved the needle.
Be specific about the camera. AI models lean heavily on technical cinematography terms. “35mm dolly, low angle, slow push-in” produces a noticeably better result than “cinematic shot.”
Anchor lighting and time of day. Phrases like “soft window light,” “golden hour,” or “neon rim light” are often more effective than color descriptions alone.
Use references for hard problems. If you need a specific dance move, a particular camera arc, or a brand-consistent character, upload a reference. The Reference Anything feature helps lock in details that are hard to describe in text.
Common Use Cases
Grok Imagine AI fits into a wide range of workflows. E-commerce sellers use it to produce product videos without a studio shoot. Social media managers generate vertical content for TikTok and Reels in minutes. Agencies use it to pitch more concepts faster. Filmmakers and indie creators use it for storyboards and visual development. Illustrators and digital artists use it as a brainstorming tool before finalizing work.
Pricing in Brief
Grok Imagine offers a free tier with 5 credits per day, enough to test the platform and produce a handful of outputs. Paid plans start at around $113 per year for the Starter tier (3,000 credits), with Pro and Premium tiers available for heavier creators and teams. Paid plans unlock the full set of 20+ AI models, including video enhance and video extend tools.
Final Thoughts
The barrier to producing professional-quality visual content has dropped significantly. What once required a full production team can now be done in a browser with a well-written prompt. Grok Imagine isn’t the only tool in this space, but its combination of multi-modal input, audio generation, watermark-free exports, and strong consistency makes it a practical option for creators who need to ship content quickly. Starting with the free tier and experimenting with a few prompts is often enough to understand what it can do within a single session.

Sandra Larson is a writer with the personal blog at ElizabethanAuthor and an academic coach for students. Her main sphere of professional interest is the connection between AI and modern study techniques. Sandra believes that digital tools are a way to a better future in the education system.