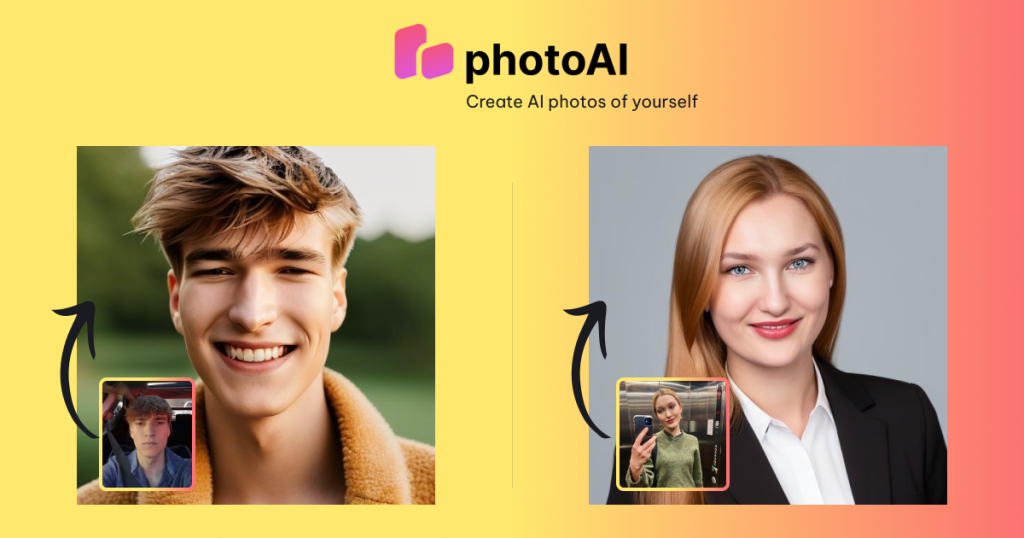
High-resolution visuals are no longer optional – they’re essential. Whether you’re a content creator, designer, photographer, or marketer, image quality directly impacts engagement and credibility. With the rise of photo AI, you can now upscale images to sharper, more detailed versions without sacrificing quality. AI-powered upscaling tools are changing the way we restore, refine, and repurpose visuals – efficiently and affordably.
In this guide, we’ll walk you through how to upscale images using photo AI, what makes it superior to traditional upscaling methods, and how to avoid common pitfalls when working with AI-enhanced visuals.
What Is AI Image Upscaling and Why It Matters
Image upscaling refers to increasing the resolution of a photo – making it larger and clearer—without losing sharpness or introducing distortion. Traditionally, this was done using basic interpolation methods, which often resulted in blurry or pixelated results.
Photo AI takes it several steps further. Using deep learning models, especially super-resolution networks, AI can analyze and predict pixel information that isn’t present in the original image. This means it can intelligently enhance facial details, textures, lighting, and edge clarity in ways that traditional software simply can’t.
For those working with low-quality images, screenshots, old photographs, or even AI-generated art, upscaling with photo AI provides a simple and fast way to make content usable for professional applications.
How Photo AI Upscaling Works
Behind the scenes, AI-powered upscaling relies on convolutional neural networks (CNNs) and generative adversarial networks (GANs) trained on millions of high- and low-resolution image pairs. The AI model learns how real-world detail is structured – skin pores, fabric textures, architectural lines—and uses this knowledge to predict and reconstruct missing information in lower-quality files.
Whether you’re working with a real photo or an ai photo from a generator, the output can be dramatically improved using AI upscaling tools.
Now let’s walk through the step-by-step process.
Step-by-Step: How to Upscale Images Using Photo AI
Step 1: Choose the Right AI Upscaling Tool
There are many tools on the market, including Topaz Gigapixel AI, Let’s Enhance, Adobe Firefly, and various browser-based platforms. Some photo AI services are specialized for portraits, while others handle general content better. Choose a platform that suits your image type and workflow. Look for options like batch upscaling, face refinement, and real-time previews.
Step 2: Upload Your Image
Start by selecting the image you want to upscale. Whether it’s a JPEG, PNG, or even a compressed WebP file, most tools accept standard formats. If you’re working with an ai photo or AI-generated image, make sure the original file is at least moderately detailed – AI can’t recover what never existed, but it can enhance intelligently.
Step 3: Select Output Settings
Decide how much you want to upscale—2x, 4x, or even 8x. Many tools offer resolution targets or custom pixel sizes. Some also allow you to toggle enhancement options like:
- Face refinement (great for portraits)
- Sharpening edges
- Removing noise or compression artifacts
These settings can make a dramatic difference in the realism and clarity of your final result.
Step 4: Preview and Adjust
Before exporting, most photo AI upscalers offer a preview pane. Use this to compare your original image with the enhanced version. Zoom in on faces, edges, or fine patterns like hair or clothing to ensure no distortion or over-sharpening is present.
Step 5: Download and Save
Once satisfied, export your file in a high-quality format such as PNG or TIFF. For web use, JPEG or WebP at 80–90% quality often strikes the right balance between size and clarity.
Common Use Cases for AI Upscaling
Upscaling is useful across a wide range of industries and content types:
- E-commerce: Product images enhanced for detail and clarity
- Content creators: YouTube thumbnails, Instagram posts, blog visuals
- Print media: Enlarged visuals for posters, flyers, and ads
- Photography: Restoration of old, damaged, or low-res photographs
- AI content: Enhancing outputs from AI art or portrait generators
It’s even being used in digital styling and fashion visuals. For example, creators working on experimental portrait compositions with platforms such as undress ai may use upscaling tools to refine details after initial image generation.
Tips for Better Results with Photo AI
- Start with the highest resolution image available: Even AI has limits if the original image is too degraded.
- Use enhancement features selectively: Overuse of sharpening or smoothing can create unnatural results.
- Avoid compressing final exports: Keep resolution and format intact for professional use.
- Maintain aspect ratios: Stretching can distort facial and object proportions.
- Preview before exporting: Especially important for faces and skin textures.
Ethical Considerations
With great power comes great responsibility. Photo AI tools can be misused—whether for deceptive advertising or altered imagery that promotes unrealistic beauty standards. Always disclose when AI has been used for major image modifications, especially in commercial or public-facing content.
If using AI to enhance portraits, never use someone’s image without permission. And if you’re upscaling imagery from an ai photo generator, make sure you understand the usage rights for commercial purposes.
Final Thoughts: Why Photo AI Is the Go-To Solution for Image Enhancement
In a world where visual quality influences everything from clicks to conversions, having the ability to enhance images with speed and precision is a game-changer. Photo AI delivers that power to everyone – from beginners to seasoned professionals. Whether you’re refining content, restoring memories, or making AI-generated visuals look more real, upscaling with AI helps bridge the gap between creativity and clarity.
With the right tool and approach, photo AI makes upscaling not just possible, but impressively easy.


![‘Frankenstein’ Review – Guillermo del Toro’s Definitive Look At The Nature And Nurture Of Monstrosity [TIFF 2025] ‘Frankenstein’ Review – Guillermo del Toro’s Definitive Look At The Nature And Nurture Of Monstrosity [TIFF 2025]](https://cdn.geekvibesnation.com/wp-media-folder-geek-vibes-nation/wp-content/uploads/2025/10/Frankenstein-175_PF_20240430_20377_R-300x200.jpg)
![‘Wake Up Dead Man: A Knives Out Mystery’ Review – In Rian Johnson We Trust [LFF 2025] ‘Wake Up Dead Man: A Knives Out Mystery’ Review – In Rian Johnson We Trust [LFF 2025]](https://cdn.geekvibesnation.com/wp-media-folder-geek-vibes-nation/wp-content/uploads/2025/10/Wake-Up-Dead-Man-A-Knives-Out-Mystery-300x169.jpg)