

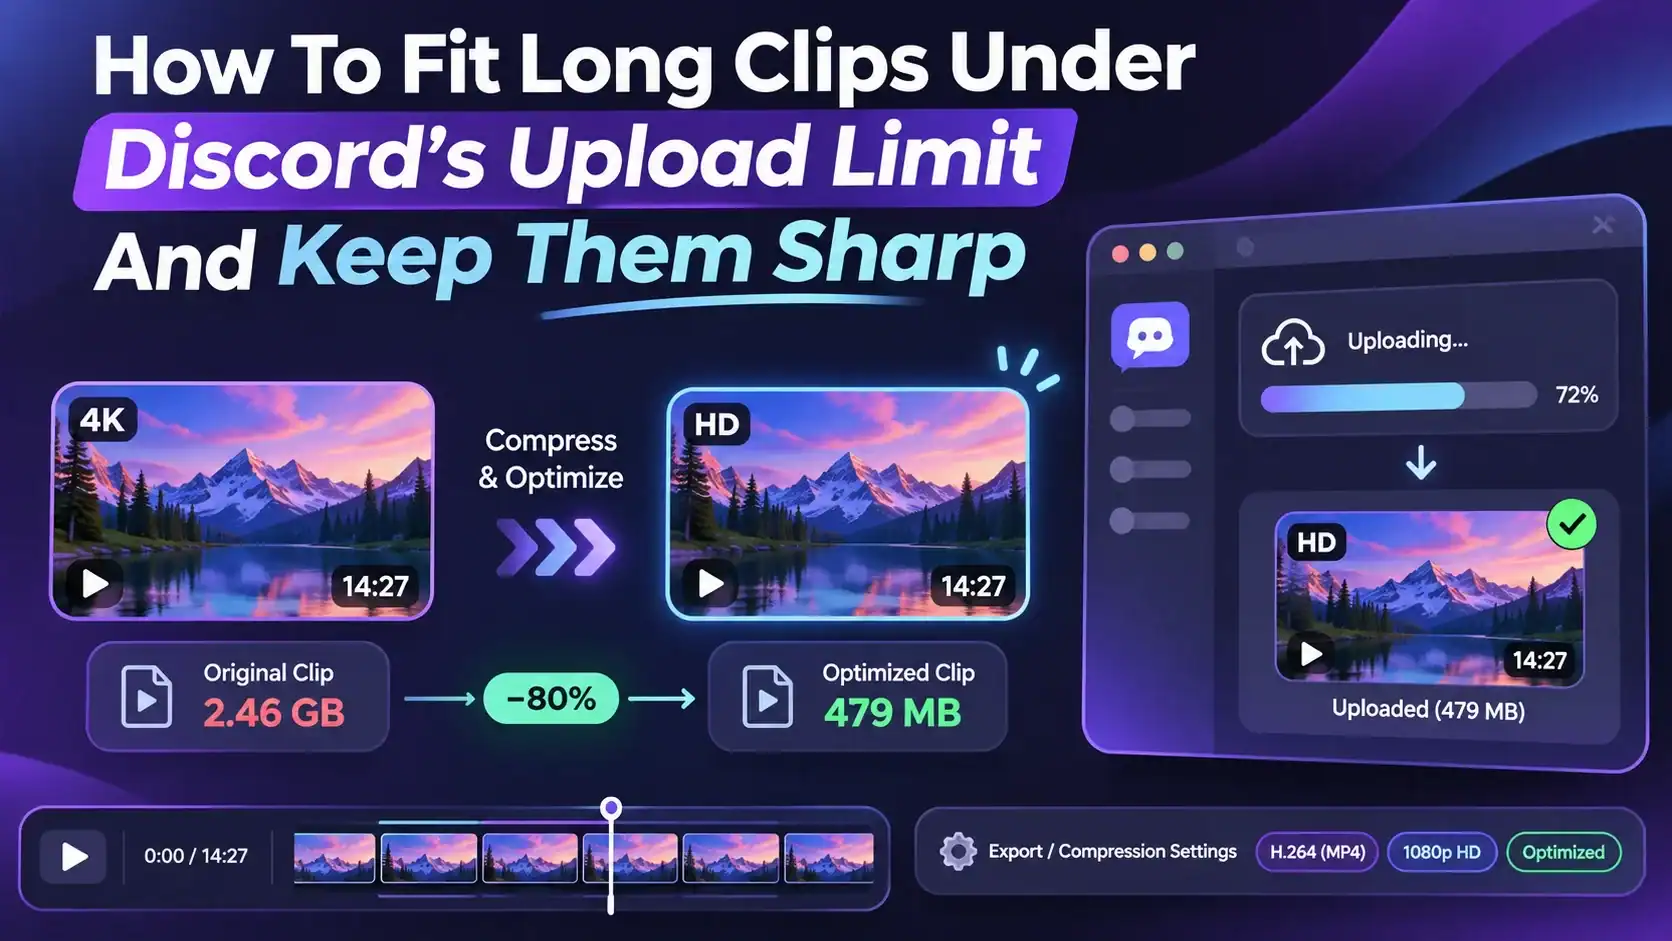
You clip an incredible play, hit upload, and Discord rejects the file. It runs barely two minutes, but it still blows past the limit. Every gamer, streamer, and community manager knows that frustrating moment. Fortunately, the fix rarely requires a paid plan.
Instead, a few smart compression choices can shrink long clips without turning them into a blurry mess. In fact, trimming and lowering the resolution often solve the problem on their own.
This hands-on guide explains Discord’s current limits and why videos grow so heavy. It also covers the tools worth using and five practical steps to follow. Finally, you’ll learn the mistakes that quietly ruin quality.
Understanding Discord’s Current Upload Limits
As of August 2026, free Discord accounts can upload files up to 20MB each. That’s double the old 10MB cap, which many guides still quote.
Nitro Basic raises the limit to 50MB per file. Full Nitro goes much higher, while boosted servers can raise the cap for every member. Keep in mind that boost perks only apply inside that particular server.
Discord also changed how it checks file size on mobile. The app now measures your video before any compression, matching the desktop version.
As a result, large phone recordings may hit the limit more often. So compress the clip yourself, and check Discord’s help center if a number looks off.
Recommended Tools to Compress Videos for Discord
The right toolkit is smaller than you might expect. In most cases, one good compressor and a basic editor will do.
- A Discord-focused compressor. Purpose-built tools save you from guessing at settings. For example, the CapCut video compressor for discord runs in the browser and offers a PC download too. It targets 8MB or 10MB, or any custom size that suits your account or server. You can also adjust duration, resolution, frame rate, bitrate, and audio, then preview before export.
- Your editor’s export panel. Any decent video editor lets you trim, resize, and set a bitrate by hand. It takes longer, but it gives you full control.
- Your computer’s file details. The properties window shows a clip’s length, resolution, and size. Those three numbers tell you how hard to compress.
- A cloud storage link. When a recording runs for many minutes, sharing a link beats crushing the quality.
Whichever tool you pick, check its export limits, watermark rules, and privacy terms first.
Why Video Files Get So Big
Four settings control most of a video’s weight: length, resolution, frame rate, and bitrate. Bitrate matters most, because it sets how much data each second can use. Higher resolution and frame rate simply need more bitrate to look clean.
For context, 1080p packs more than twice the pixels of 720p. Likewise, 60 fps doubles the frame count, though smart compression keeps the cost below double.
Fortunately, a simple formula tells you exactly what fits. Multiply your target size in megabytes by 8,000, then divide by the clip’s length in seconds. The result is your total bitrate in kilobits per second.
For example, a 60-second clip aimed at 19MB, just under the free cap, allows roughly 2,500 kbps. Subtract about 128 kbps for audio, and the video gets around 2,400 kbps. That budget looks clean at 720p for most clips.
However, a three-minute clip at the same size drops to roughly 840 kbps. At that point, trimming or dropping to 480p becomes the smarter move.
Hands-On Walkthrough: Compress a Long Clip for Discord in Five Steps
Pick the clip you want to share and follow these steps in order. Each one trims file size while protecting what matters most.
Step 1: Trim the Clip to the Moment That Matters
Length is the easiest setting to change. So cut the slow build-up and the awkward ending before anything else. For instance, a 90-second recording often hides a 30-second highlight.
Shorter clips need less compression, so they stay sharper at the same size. As a bonus, viewers in busy channels are more likely to finish them.
Step 2: Lower the Resolution and Frame Rate
Next, match the resolution to the bitrate budget from your formula. Dropping a 1080p clip to 720p sharply cuts the data it needs to look clean.
Similarly, talking-head and tutorial clips look fine at 30 frames per second. Fast gameplay may deserve 60 fps, but then lower the resolution to compensate. Keep on-screen text readable, though, especially in tutorials and screen recordings.
Step 3: Set a Target Size With a Safety Buffer
Now enter your target size, or the bitrate from the formula, in your compressor. Pick a number just under your limit, such as 19MB on a free account. Encoders rarely land on the exact figure, so that buffer prevents a last-second rejection.
Also, set audio to about 128 kbps, which keeps voices and game sound clear. If the sound doesn’t matter, lower it further or remove it entirely.
Step 4: Export in a Discord-Friendly Format
Choose MP4 with H.264 video and AAC audio for the widest compatibility. Many tools pick these settings by default. Discord also accepts HEVC and AV1, which squeeze files even smaller. However, older phones and computers may struggle to play those newer formats. So stick with H.264 unless you know your audience’s devices.
Step 5: Preview, Check the Size, and Upload
Before uploading, watch the compressed clip from start to finish. Look for blocky motion, smeared text, and audio that drifts out of sync. Pause on any small text, like scores or chat, and make sure it stays legible.
Then check the final file size against your limit. If it still runs over, trim a few seconds or step down one resolution level. Finally, upload the clip and play it once inside Discord to confirm it looks right.
Tips for Sharp, Small Discord Clips
A few extra habits keep quality high while the file stays light.
- Record at the size you’ll share. Capturing at 720p from the start leaves less to compress later.
- Use two-pass encoding when offered. Two-pass mode usually hits a target size more accurately.
- Crop out dead space. Black bars and empty corners waste bits your subject could use.
- Clean up noisy footage. Grainy, dark video eats bitrate, so brighten or denoise it first.
- Check your mobile upload settings. Discord’s data-saving options can lower video quality, so switch them off for important clips.
- Split very long sessions. Two focused clips often look better than one crushed recording.
- Keep the original file. You can re-export with fresh settings whenever limits change again.
Common Mistakes When Compressing Clips for Discord
Even with the right tool, a few habits can sabotage your results. Watch out for these frequent errors.
- Relying on outdated limits. Many guides still say 10MB, so you may over-compress for no reason.
- Compressing an already compressed file. Each round adds new artifacts, so always start from the original.
- Keeping 4K for a small upload. Squeezing huge resolution into a tiny file creates blocky, smeared frames.
- Aiming exactly at the limit. A clip that lands at 20.1MB still fails, so leave a buffer.
- Ignoring the audio track. A 320 kbps soundtrack can steal a big slice of a small budget.
- Skipping the preview. Out-of-sync audio or unreadable text often slips past a quick glance.
Final Thoughts on Beating Discord’s Upload Limit
Discord’s 20MB free cap is roomier than before, but long clips still need a plan. Trim first, match the resolution to your bitrate, and export a clean MP4. After that, a quick preview catches problems before your friends do.
Ultimately, people watch clips that start instantly and look sharp. Better still, smaller files are kinder to friends on slow connections. So keep yours short, clear, and comfortably under the limit.
