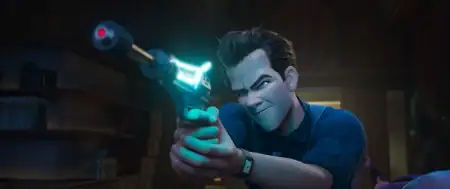

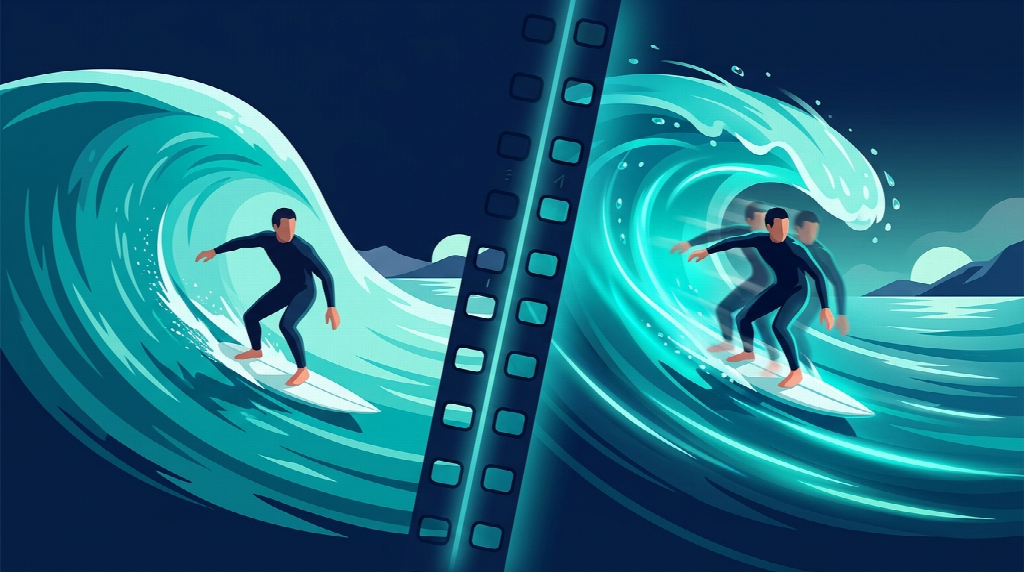
A single photo sitting in your camera roll tells a story. But in a feed overflowing with endless static posts, a video of that exact same image? That is what actually halts the thumb mid-scroll.
For years, breathing cinematic life into a still graphic felt like an exclusive club. If you wanted subtle camera movement, drifting atmospheric mist, or natural character motion, you had to fire up complex editing suites, wrestle with timeline keyframes, and inevitably abandon the project halfway through a forty-minute tutorial. By 2026, that entire creative bottleneck has collapsed. Today, transforming a still image into a fluid, high-impact video clip takes about two minutes, a single upload, and one well-crafted sentence.
Whether you are a concept artist animating your latest character design, a film enthusiast crafting custom cinematic teasers, or a creator looking to stand out on social feeds, image-to-video AI has become one of the most accessible creative superpowers available. Here is a no-nonsense guide to how this technology works, what you can build with it, and the exact steps to generate your first clip today.
Why Image to Video AI Took Off
Video has always reigned supreme on visual platforms, commanding higher engagement, longer watch times, and better reach. Yet historically, it came with the highest barrier to entry. Creating motion required deep technical knowledge: frame interpolation, particle simulations, lighting passes, and manual motion tracking. Most creators with great visual concepts simply lacked the hours required to master professional visual effects software.
Image-to-video AI erased that friction overnight. Instead of forcing you to build movement frame by frame, modern neural models understand scene geometry, realistic physics, and lighting dynamics straight out of the box. You supply the visual anchor and the creative direction; the engine calculates the motion vectors, depth layers, and temporal consistency.
The barrier shifted from technical endurance to pure directorial intent. That is why everyone from indie comic creators and digital illustrators to cosplay photographers is suddenly publishing dynamic motion content. Creators did not spend months mastering animation software—the animation tools finally learned to speak human language.
What You Can Actually Make
If you have only seen early AI video demos from a couple of years ago, you might still picture surreal morphing dreamscapes where fingers melt and backgrounds dissolve. Modern generation models have matured dramatically, offering controlled, nuanced motion across a massive spectrum of creative projects:
-
Social Media and Vertical Video. Transform travel snapshots, street photography, and aesthetic portraiture into short, atmospheric loops for Instagram Reels, TikTok, and YouTube Shorts that immediately capture audience attention.
-
Fan Art and Fandom Edits. Take a favorite piece of fantasy character art, an anime tribute, or a stylized movie poster concept and inject subtle breathing motion, glowing neon highlights, billowing cloaks, or drifting ember particles.
-
Concept Pitch Visuals. Indie filmmakers, game designers, and storyboard artists can quickly test visual atmospheres, camera angles, and mood transitions before committing to expensive production setups.
-
Memes and Pop Culture Mashups. Bring classic internet culture stills, iconic reaction images, and custom digital illustrations to life with punchy, comedic timing.
-
Living Photo Archives. Animate vintage family photographs, historical portraits, or special celebration memories to create deeply personal, moving keepsakes.
The same underlying engine that powers a dramatic cinematic dolly zoom on an illustration can just as easily create a gentle ambient background for a music track or a dynamic showcase for an indie merchandise drop.
How It Works: The Simple Version
You do not need a degree in machine learning to use these tools effectively, but understanding the core loop makes your prompting significantly sharper. The workflow centers on four straightforward stages:
-
Upload: You provide an initial visual anchor—a PNG, JPEG, or WEBP file that establishes character appearance, composition, color palette, and framing.
-
Describe: You write a natural-language prompt specifying what should move, the speed and style of the motion, and any desired camera dynamics.
-
Generate: The diffusion model analyzes the 2D frame, calculates spatial depth, separates foreground subjects from background environments, and predicts realistic motion across consecutive frames.
-
Download: You receive a rendered MP4 video clip, ready for immediate sharing, further post-production, or audio scoring.
Think of the model as a virtual camera operator that also happens to be a physics engine. When you write “slow pan right,” it does not slide the whole frame sideways like a PowerPoint transition. It calculates depth: the foreground warrior shifts fast, the midground pillars drift slower, and the distant skyline barely moves — exactly like parallax through a real lens.
That depth awareness is why a prompt like “gentle wind catches the cloak” actually works. The model treats the cloak as fabric and the armor as rigid metal, so the cloak ripples while the armor stays put. Once you start thinking like a camera operator directing a physics simulation, writing effective prompts becomes second nature.

Step-by-Step: Your First Clip
Ready to create your first piece of motion? Follow this field-tested walkthrough to jump from a flat image to a finished clip in minutes.
Step 1: Pick the Right Image
Your output quality is directly tethered to your source image. While generative models are powerful, they cannot salvage a muddy or chaotic source. For your earliest experiments, select images that feature:
-
A clearly defined main subject (such as a person, vehicle, creature, or landscape focal point)
-
Balanced lighting with distinct contrast between foreground and background elements
-
Clean resolution, ideally at least 1080 pixels on the shortest edge
-
Minimal motion blur or heavy compression artifacts
Starting with a clean, well-composed still gives the AI explicit visual boundaries to animate without guessing where one object ends and another begins.
Step 2: Write a Clear Prompt
Think of your prompt not as a list of search keywords, but as a quick note to your camera crew and actor. Vague instructions produce unpredictable, erratic motion. Specific, bounded instructions yield clean cinematic results:
-
Weak Prompt: “Make it moving, cool video, anime style”
-
Strong Prompt: “Slow cinematic camera push-in. The warrior slowly turns their head toward the lens, neon rain falling gently through the background.”
A reliable prompt formula balances three ingredients: Subject Action (what the focal point does), Camera Motion (pan, zoom, tilt, or static tripod), and Atmospheric Motion (dust motes, wind, smoke, or light shifts). Keeping this description to one or two crisp sentences gives the model clear priorities.
Step 3: Generate and Review
Once your assets are prepped, let the model do the heavy lifting. Using Motiofy, you simply drop your source image into the canvas, enter your motion prompt, and hit generate. Within roughly sixty seconds, you have a rendered video clip ready for review.
Watch your first playback with an editorial eye. Pay attention to three core details: Did the intended subject move smoothly? Is the camera motion steady or overly aggressive? Did facial features or fine details remain visually stable throughout the duration?
Step 4: Refine, Don’t Restart
First-take perfection is rare in any creative medium, including AI generation. When a clip is eighty percent there, resist the urge to scrap everything and start from scratch. Instead, tune your prompt surgically:
-
Motion too fast or chaotic? Add qualifiers like “subtle,” “slow-motion drift,” or “gentle movement.”
-
Wrong element animating? Explicitly specify which parts of the frame should stay static (e.g., “The background stays still while the car glides forward”).
-
Lighting feels flat? Introduce ambient lighting cues like “warm golden hour lens flare” or “pulsing cyberpunk neon reflections.”
Treating the process like a quick dialogue with a digital camera operator saves time and rapidly hones your creative instincts.
Common Mistakes to Avoid
Most frustrating generation attempts stem from a few predictable missteps. Keep these common traps in mind:
-
Treating prompts like SEO keyword tags. Stuffing prompts with meaningless buzzwords like “hyperrealistic 8k masterpiece” often degrades temporal coherence. Stick to clear, descriptive action verbs.
-
Uploading images with heavy text overlays or watermarks. The model treats embedded text and logos as part of the scene and will try to animate or warp them, producing distracting artifacts. Always feed it clean source images.
-
Ignoring image resolution. Feeding the system a pixelated 300×300 thumbnail forces the network to hallucinate missing data, leading to strange visual artifacts and warping.
-
Giving up after a single generation. Professional creators routinely run two or three variations to explore different motion seeds, then select the cleanest take for their final edit.
Getting Started Today
The best way to understand image-to-video creation is simply to make something. Here is a quick challenge you can complete right now:
-
Pick an evocative photo from your phone, art portfolio, or desktop wallpaper collection.
-
Write one focused sentence describing how the scene moves.
-
Run the generation.
-
Make one prompt adjustment, re-render, and check the difference.
You will learn more in five minutes of hands-on iteration than from reading hours of theoretical guides. If you are looking for an intuitive, powerful sandbox to begin,Motiofy’s AI creative workspace is free to try and designed specifically to take your visual concepts from static ideas to finished video stories with zero friction.
The creative distance between a single still picture and a compelling cinematic video has never been shorter. Grab an image, write your first prompt, and see what happens when your visuals start moving.

Caroline is doing her graduation in IT from the University of South California but keens to work as a freelance blogger. She loves to write on the latest information about IoT, technology, and business. She has innovative ideas and shares her experience with her readers.